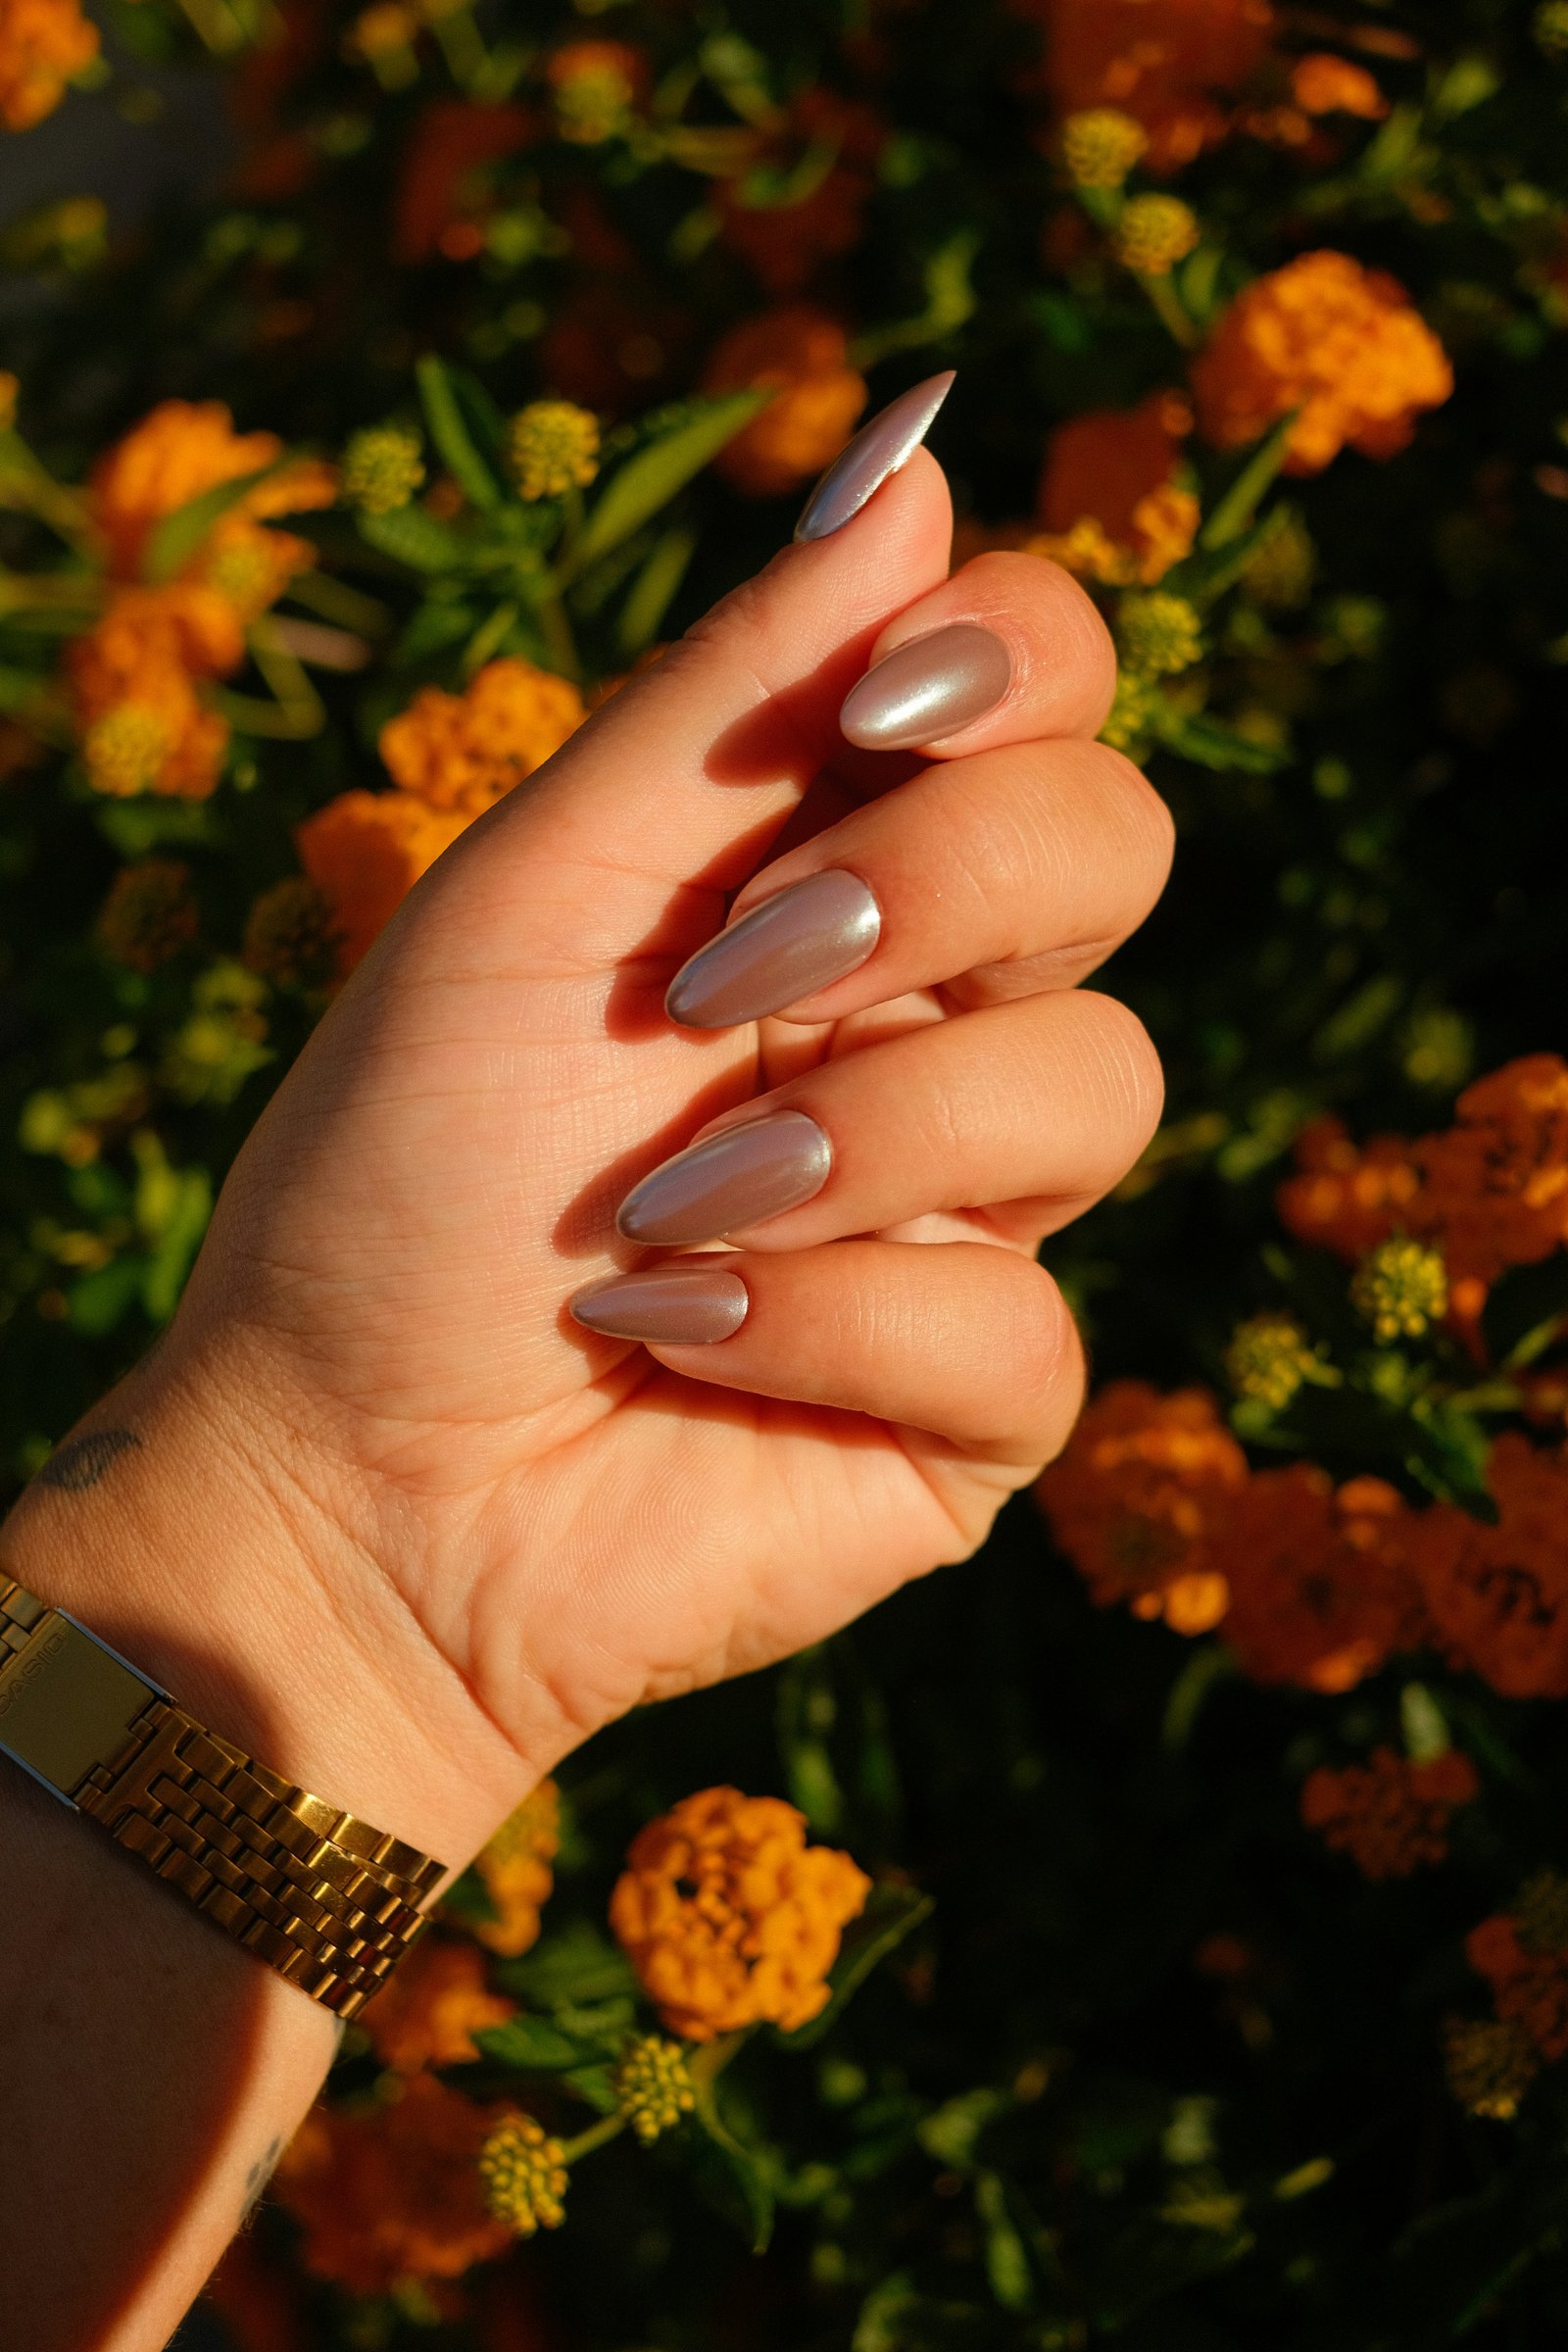
If you have ever smudged regular polish reaching for your phone, gel will feel like a small miracle. Your nails get shaped and prepped like a normal manicure, but each coat of color goes under a little LED or UV lamp and sets hard — usually in under a minute. Most sets stay glossy for two to three weeks without the careful “don’t touch anything” hour afterward.
Your tech will glance at your nails, ask about shape and color, and make sure nothing looks sore or infected before starting. That takes a moment — then the real work begins. Plan on 45–60 minutes for a standard gel manicure; nail art or extensions need longer. New to nail appointments altogether? Our beginner walkthrough covers the full mani experience.
A quick nail vocabulary
Three words come up a lot:
- Nail plate — the hard part you paint (keratin, like your hair).
- Cuticle — the thin skin at the base; your tech gently pushes it back for a clean edge.
- Free edge — the tip past your finger. Sealing here is what helps gel resist chips and water.
Good techs never cut or file the skin underneath your nail — only the plate and dead cuticle tissue.
Step 1 — Clean hands
Your hands get washed or wiped down first — soap, sanitizer, a fresh towel. It sounds basic, but gel sticks to a clean nail, not leftover lotion or lunch residue.
You might feel a cool wipe. Nothing should sting.
Step 2 — Shape and buff
This is where you choose round, square, almond, squoval — whatever suits your hands. Your tech files the length and lightly buffs the surface so the base coat has something to grip.
A little vibration from the file is normal. Pressure should never hurt. If you are unsure about length, say so — it is easier to take more off than to grow it back.
Step 3 — Cuticle care
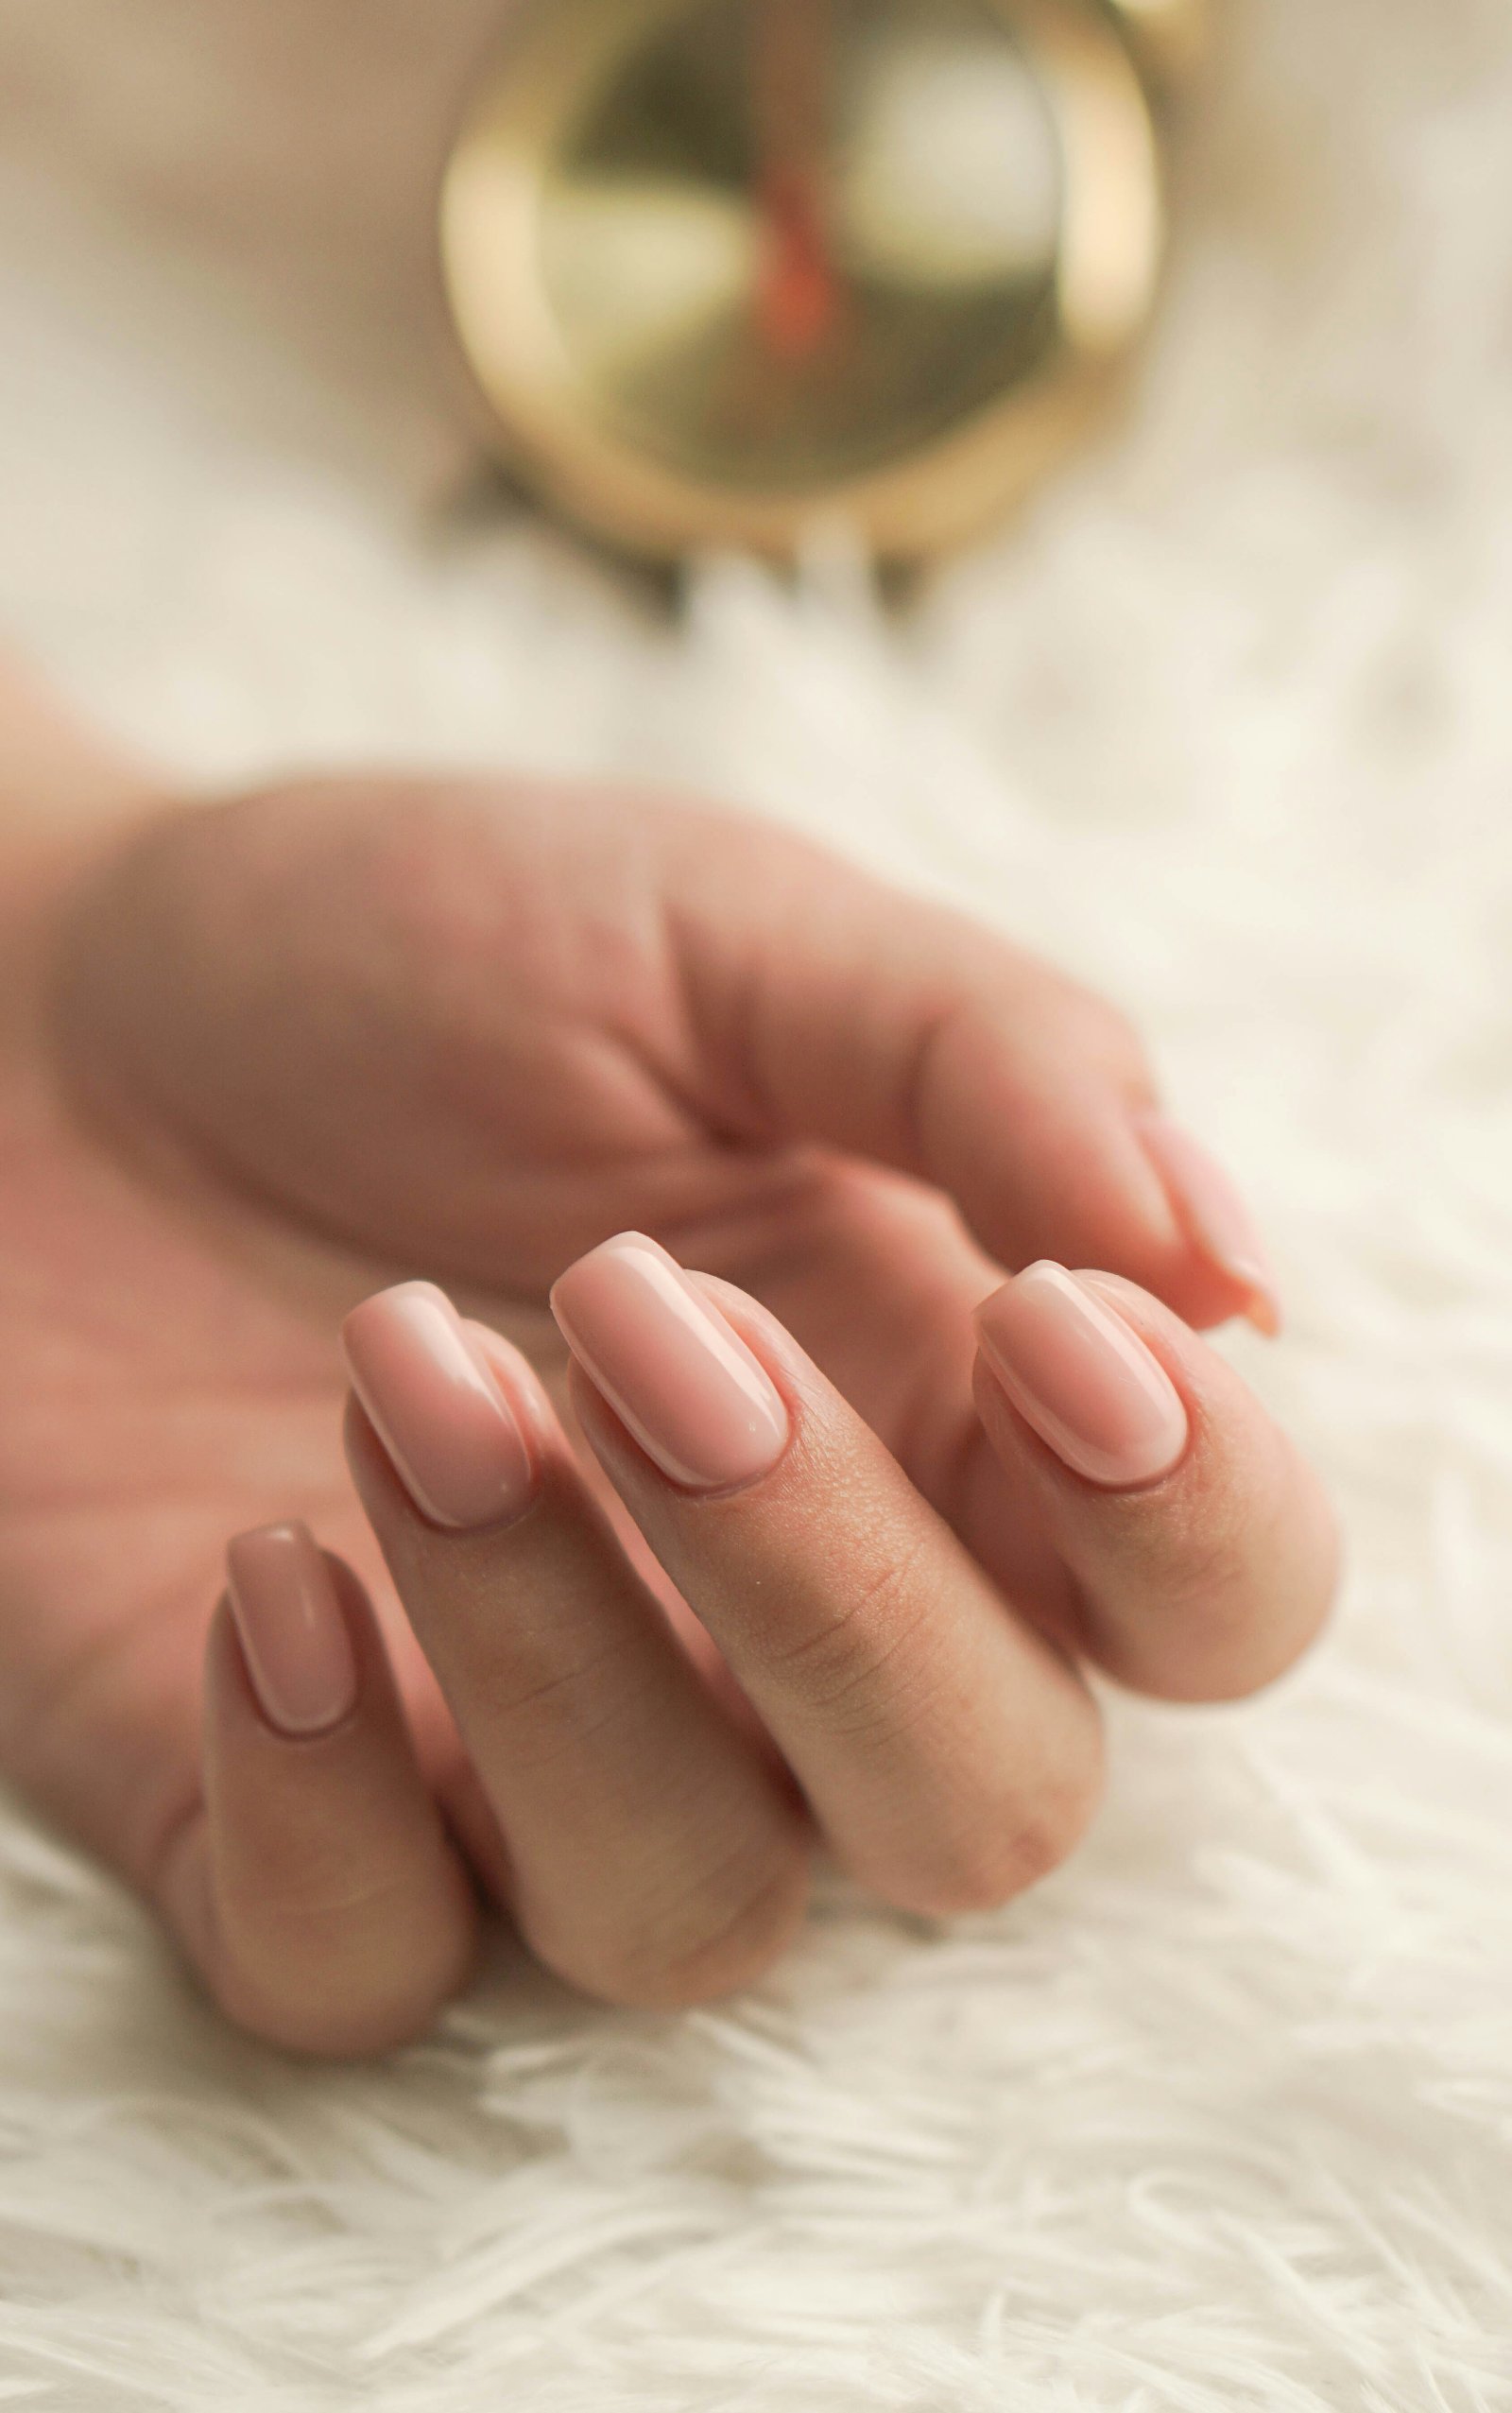
Cuticles get softened, then pushed back from the nail plate. Your tech might trim a hangnail or two, but they should not dig into living skin — that is how you end up sore and ragged a few days later.
You will feel gentle pressure at the base of each nail. A quick pinch only if nippers are used on dry skin flakes, not your actual cuticle line.

Step 4 — Prep wipe
A cleanser or alcohol wipe goes over each nail to lift dust and surface oil. Your nails may look a little matte after — that is the point. Oils and moisture between nail and gel are one of the main reasons polish lifts early.
Quick and cool. Over in seconds.
Step 5 — Base coat and lamp
A thin clear base coat goes on, including a little swipe across the tip — that free edge seal again. Then your hand slides under the lamp for about 30–60 seconds.
The lamp hardens the gel through a chemical reaction called curing. It is not air-drying; the light actually sets the formula. Warmth is normal. Some gels give a brief heat spike — also fine.
Step 6 — Color
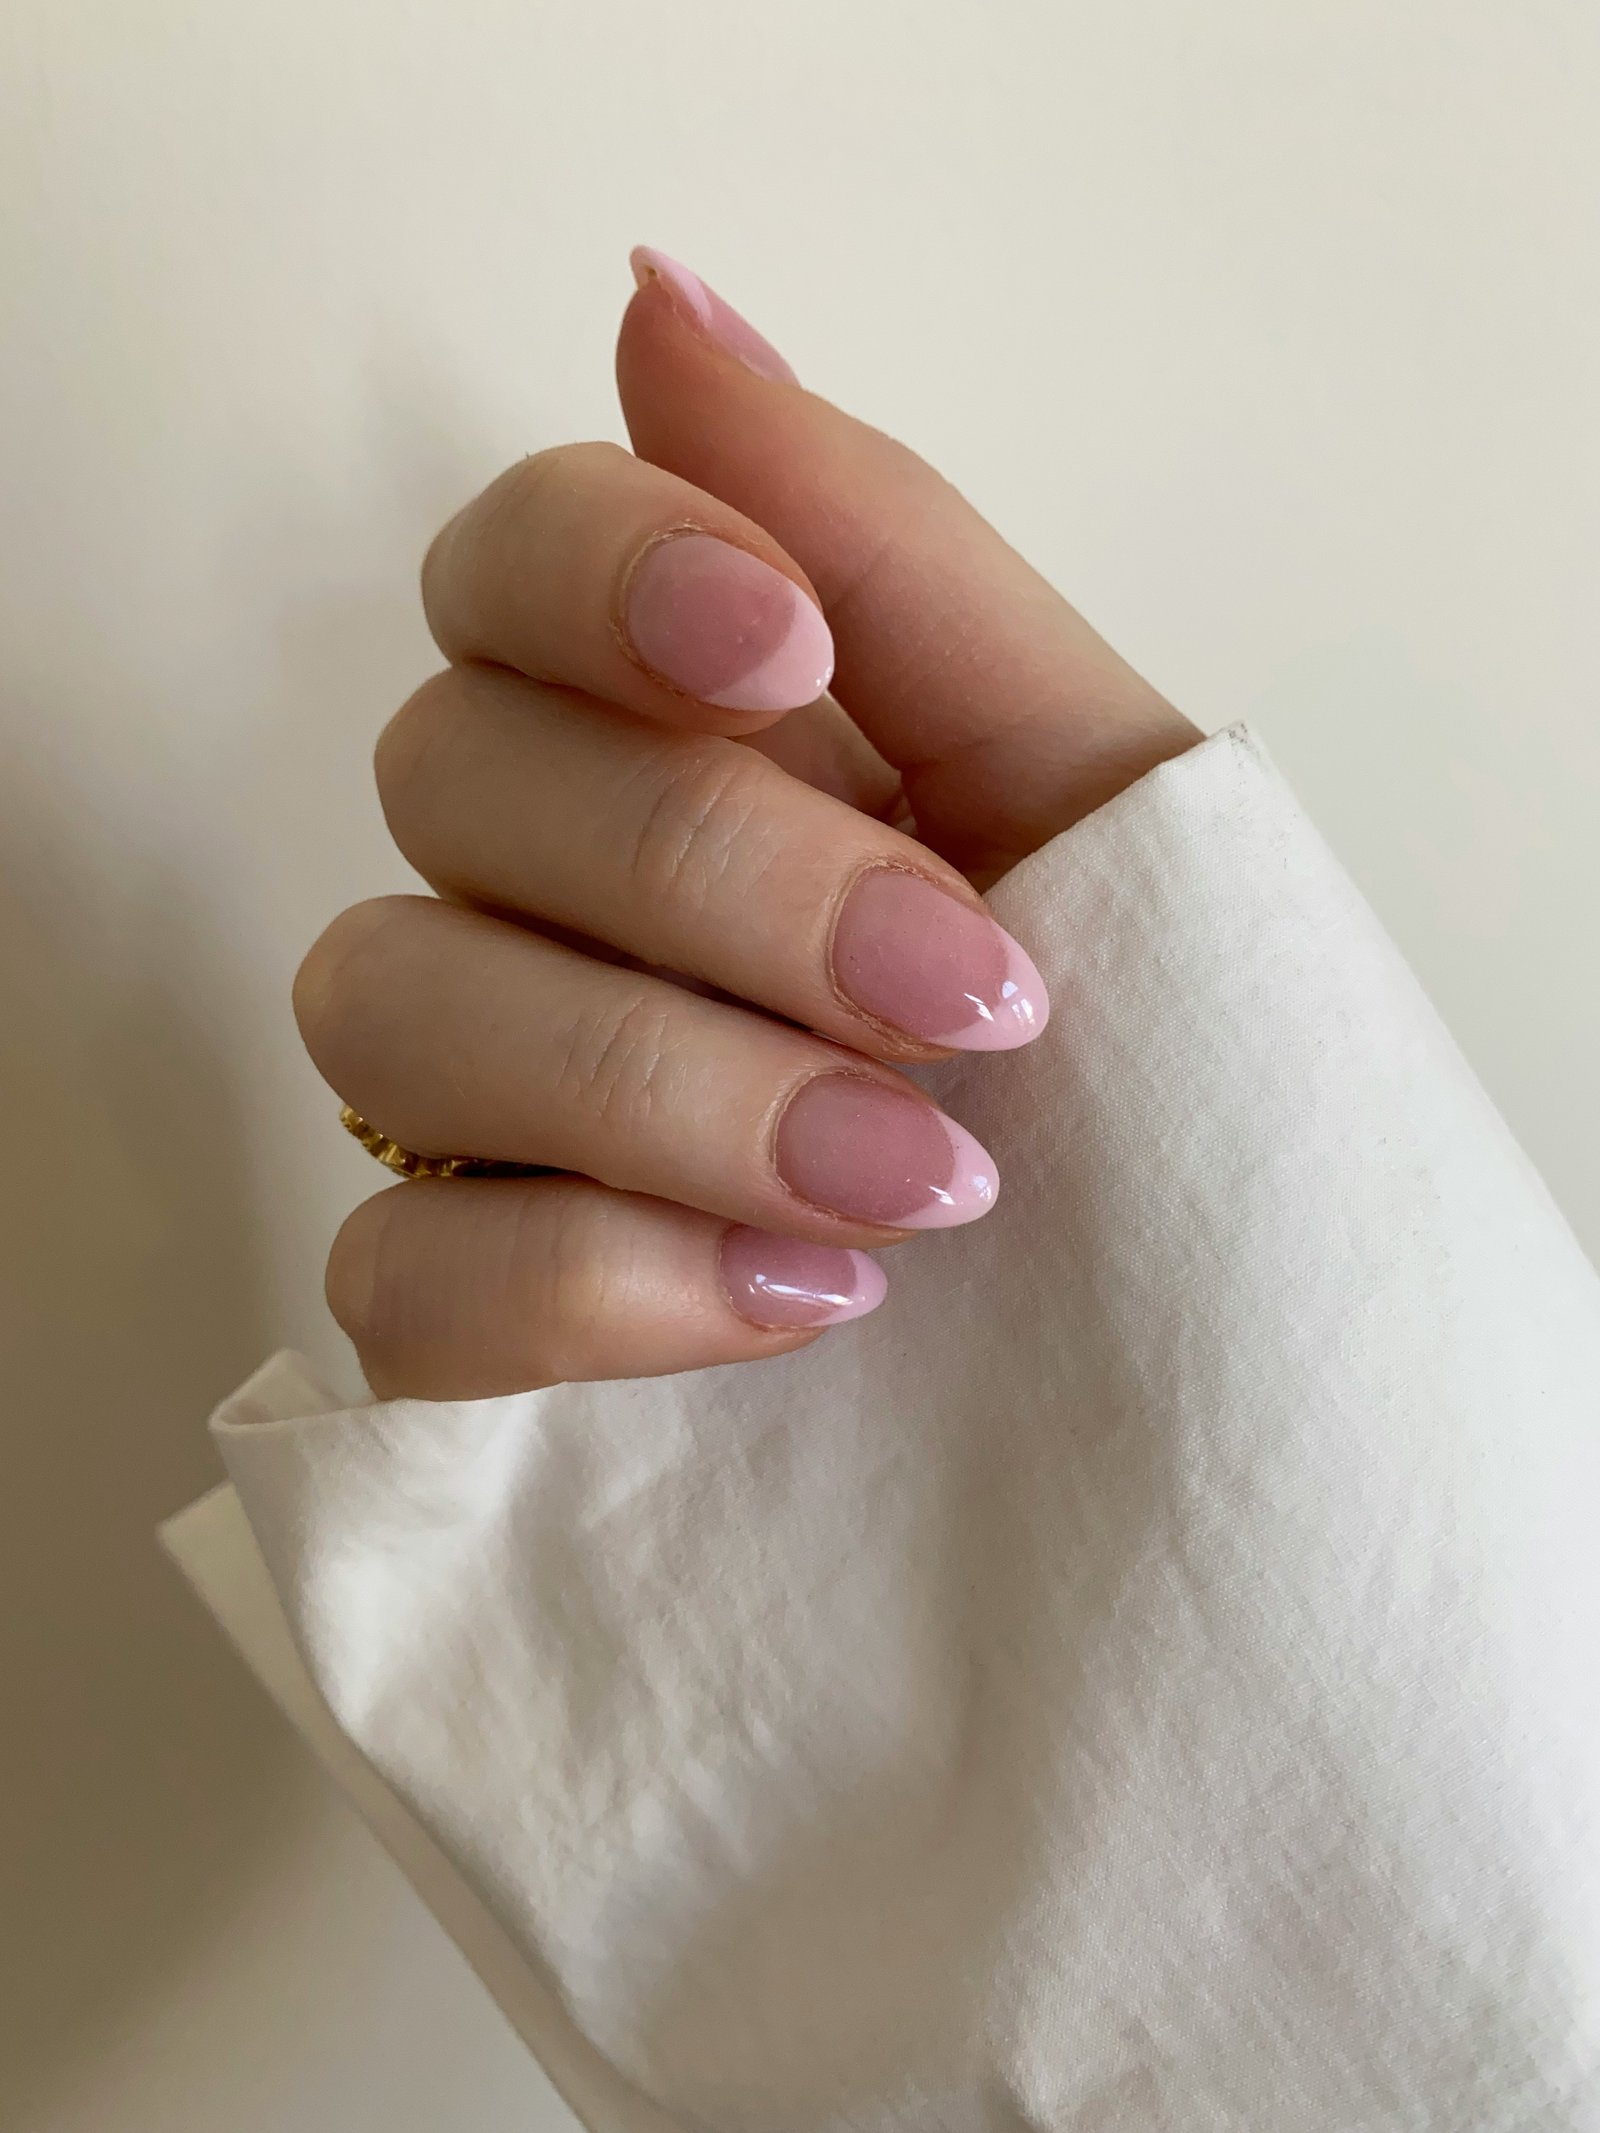
Color goes on in two thin coats, not one thick blob. Each coat gets its own turn under the lamp. Thin layers cure all the way through; thick ones can feel hard on top but stay soft underneath — and chip sooner.
Same lamp warmth as before. Some gels feel slightly tacky before the top coat; that is normal.
Step 7 — Top coat and finish
A glossy or matte top coat seals everything, including the tips again. One last cure, then your tech might wipe off any sticky residue and massage cuticle oil around your nails.
You leave with completely dry nails — no hovering your hands awkwardly while you dig through your bag. That alone is worth it for a lot of us.
After you leave
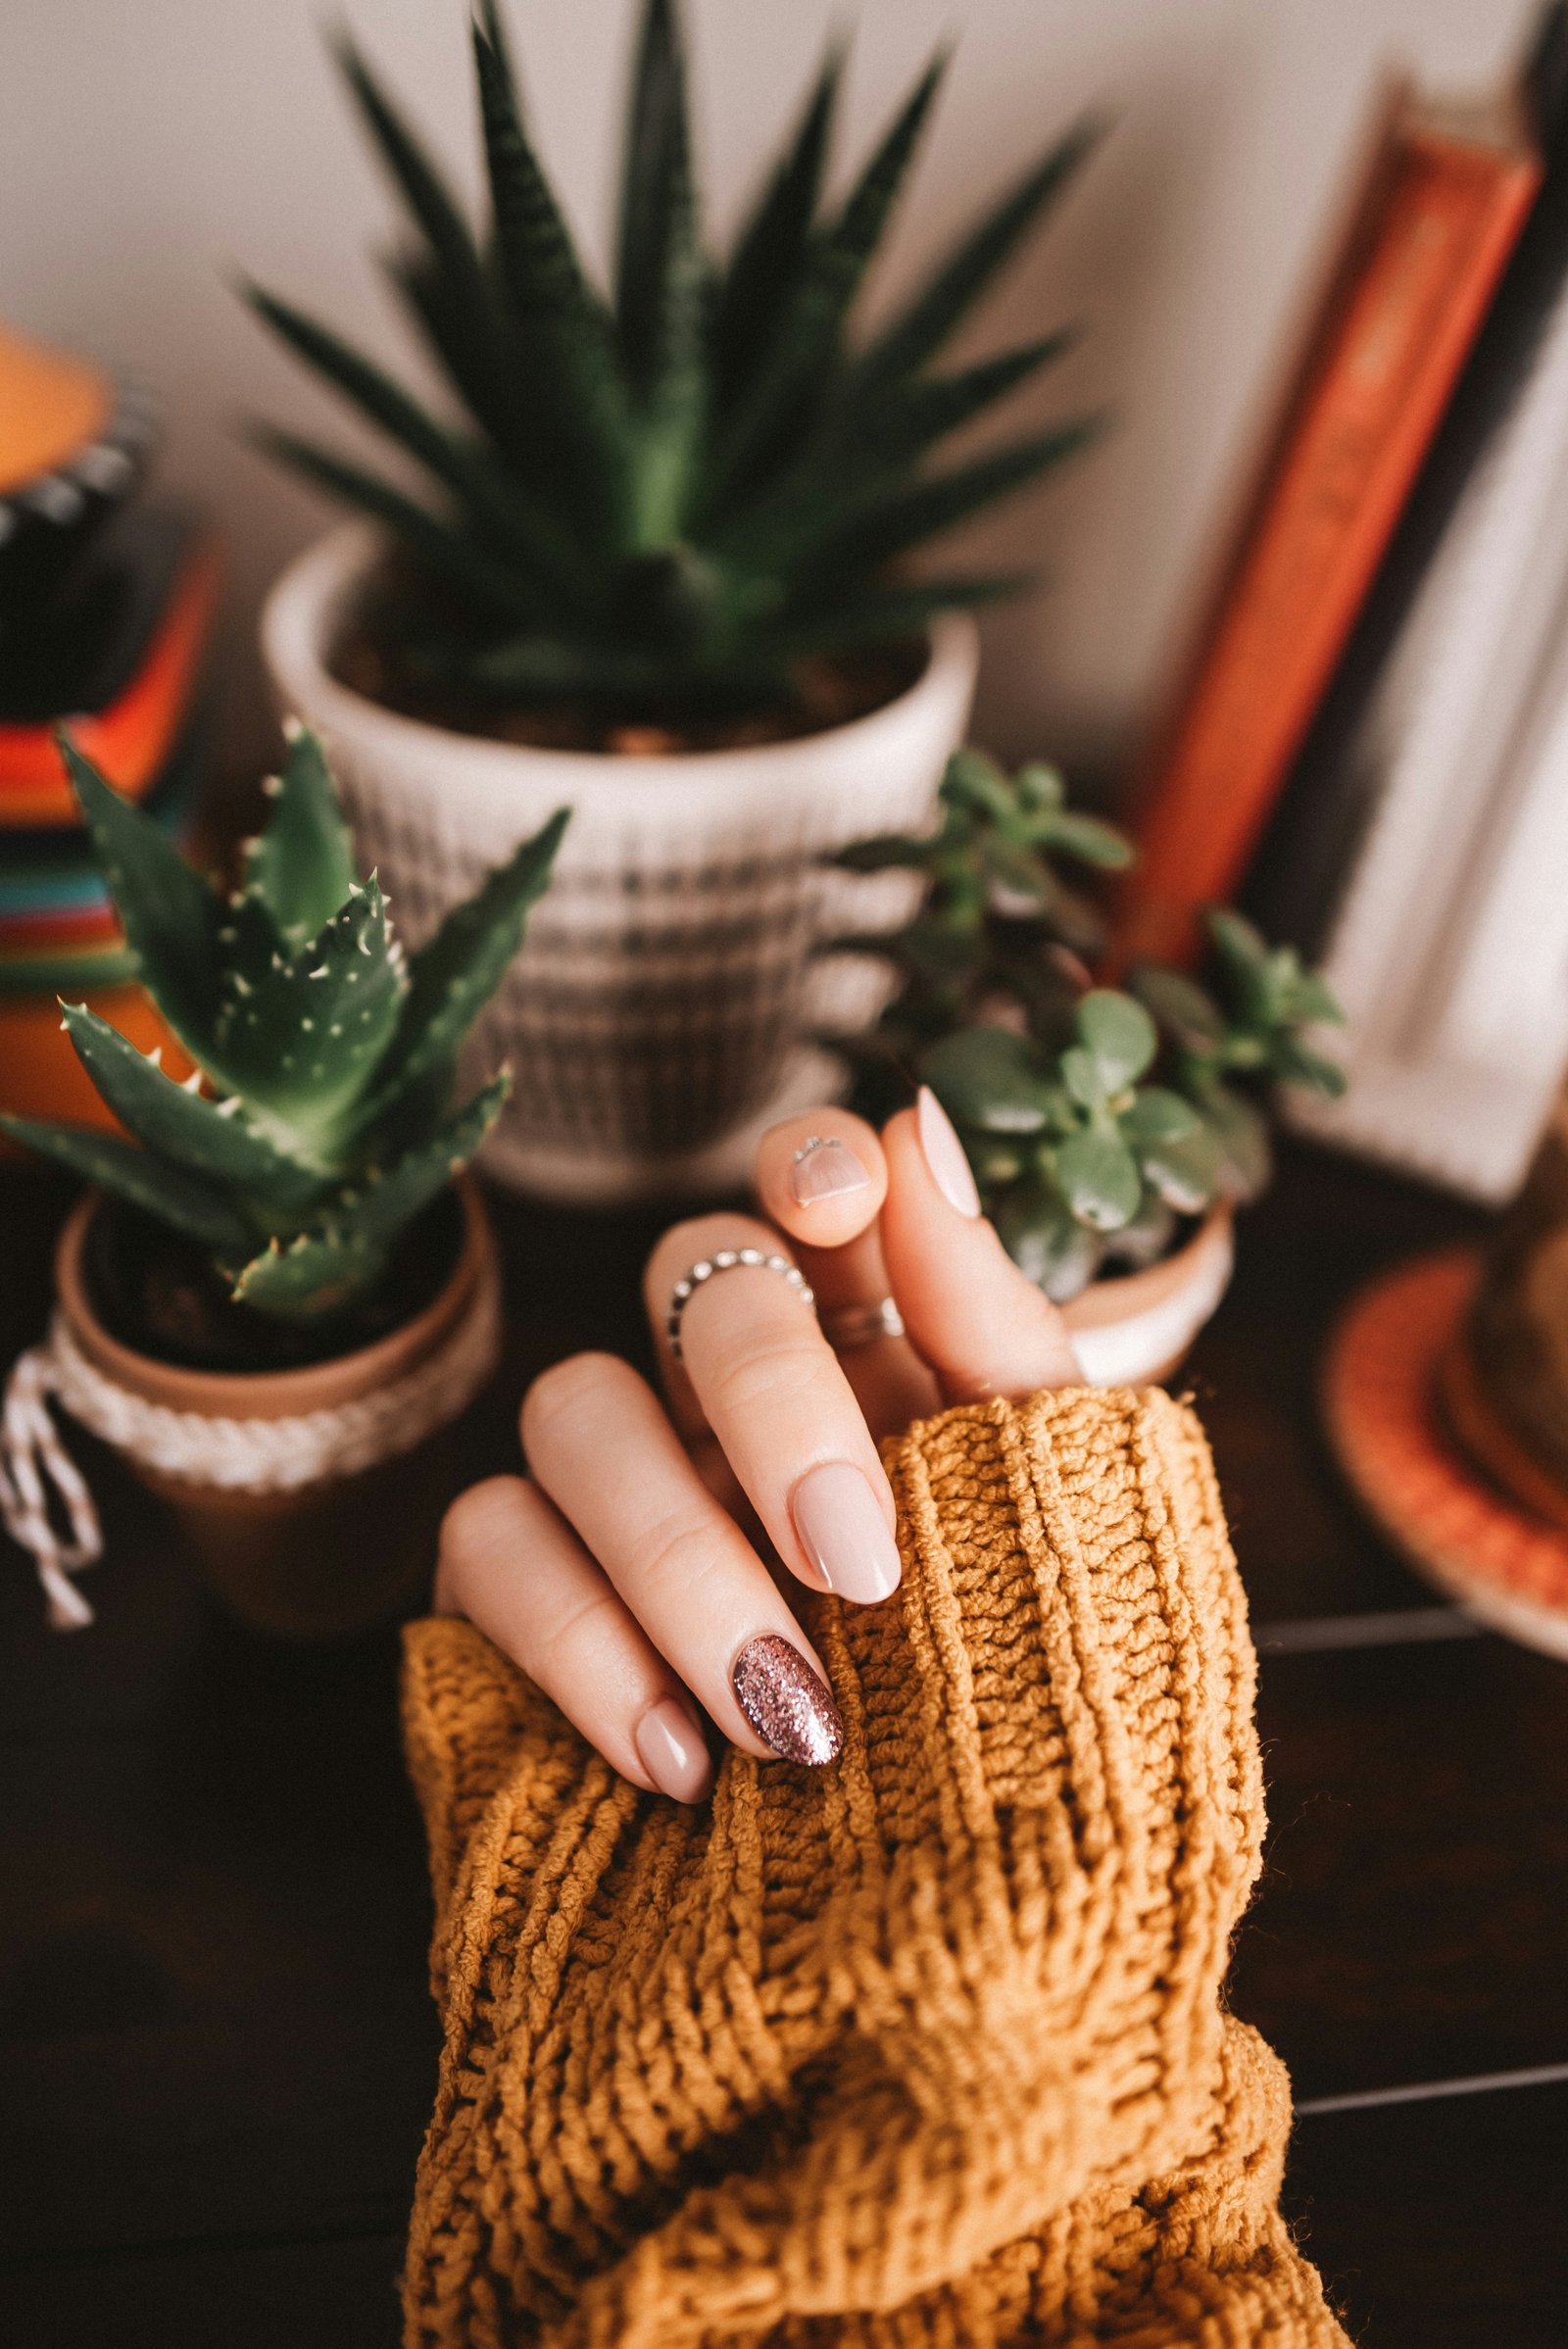
Gel is tough, not invincible. Go easy on your nails the first day if you can — no using them as scissors. Long term, cuticle oil every morning and night, gloves for dishes, and please do not pick at a lifted corner.
When you are ready for a new color, soak it off properly — never peel. Our gel wear guide covers timelines and lifting; safe removal walks through soak-off without wrecking your natural nails.
FAQ
Does gel ruin natural nails? Not when it is applied and removed correctly. Peeling, over-filing, and scraping during removal are what thin nails out — not the gel itself.
How is gel different from regular polish? Regular polish air-dries and usually lasts a few days on hands. Gel cures under a lamp and bonds more firmly — think two to three weeks with decent aftercare.
Can I remove gel at home? Sometimes, with a patient acetone soak on standard gel polish. Builder gel, extensions, or already-lifting sets are better left to a pro. Never peel.
Ready to try gel?
We keep appointments unhurried so nothing gets rushed. Browse the service menu or join the waitlist when you are ready.